


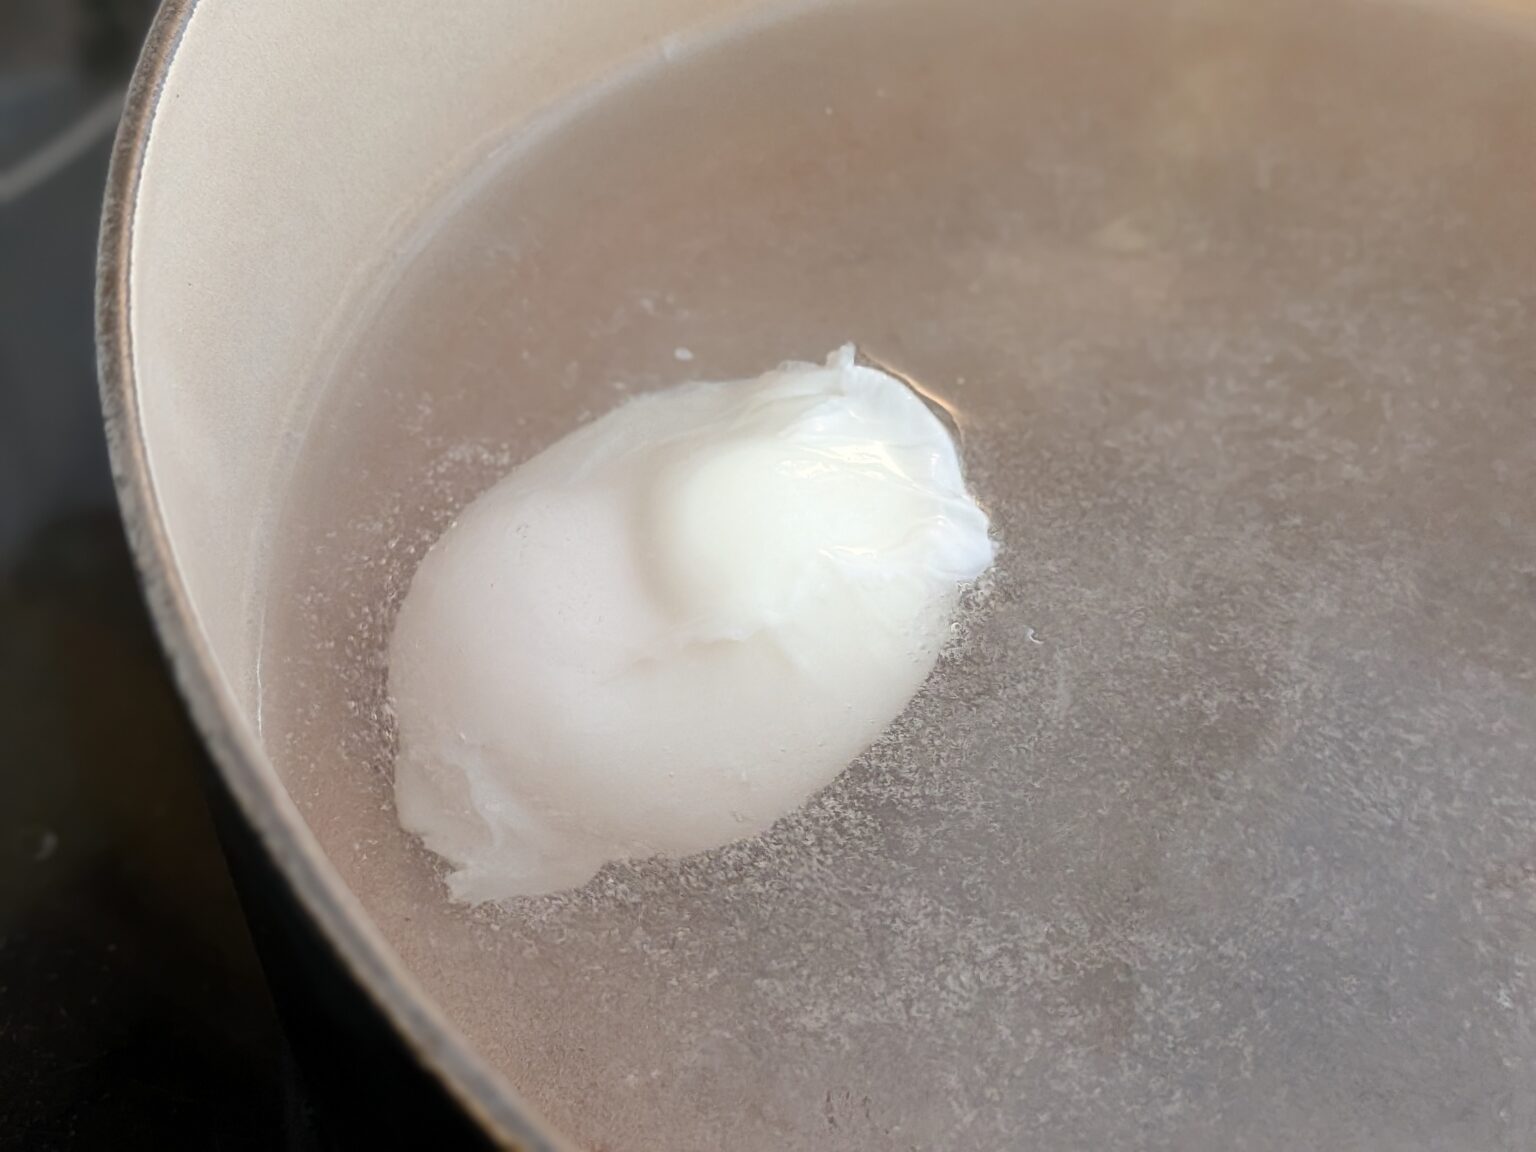
Perhaps no other form of egg cookery has so much rhetoric and written words dedicated to it as the elusive poached egg. Poached eggs are humble, but surprisingly complicated to master. Perhaps even more so than the omelet. (In this egg-loving, frequent-egg-cooking author’s opinion.) Even with water as the only other procedural requirement.
If you’ve tried other methods for delivering a perfect poached egg — electric egg cookers, nonstick poaching pans or the seemingly infallible microwave method — and still left unfulfilled or underwhelmed by the outcome, there’s one more pro trick you can try. And here’s a pro tip: Lisa Steele is a fifth-generation chicken keeper and author of Fresh Eggs Daily and In Season: 125+ Sweet and Savory Recipes Celebrating Simple, Fresh Ingredients. She talked me through the single, foolproof step that makes stovetop egg poaching dead simple.
The reason poached eggs are challenging
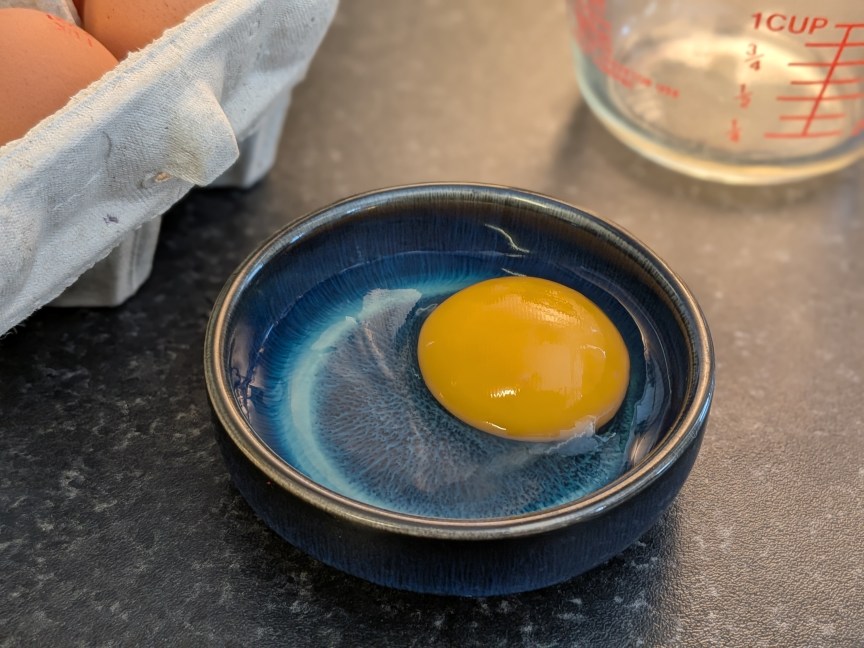
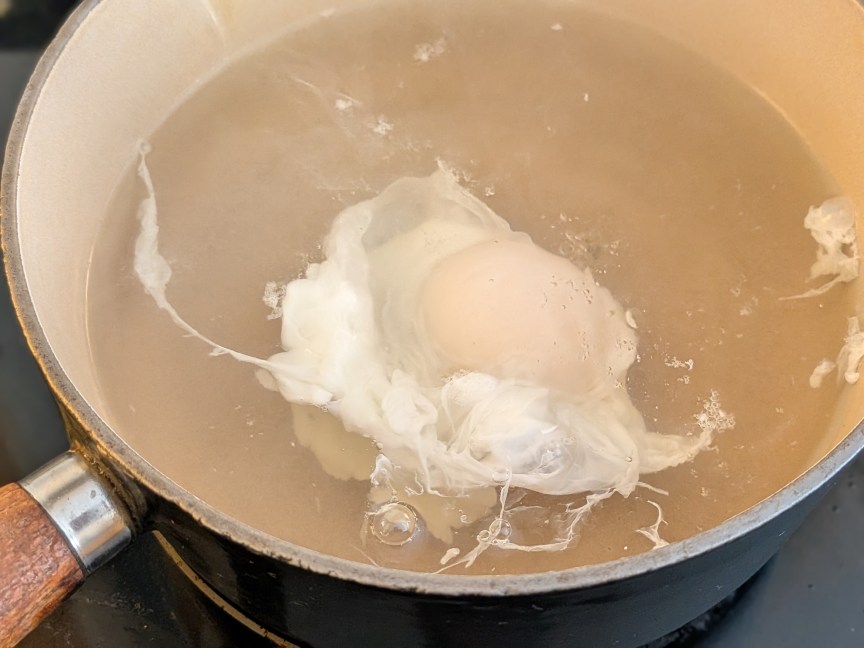
Picture it: a pot full of water, maybe with a dash of distilled vinegar, at the gentlest simmer so you don’t subject your delicate egg to a tornado of activity once submerged. You painstakingly crack the egg into a shallow bowl first, and carefully slip it into the pot. Regardless of your good intentions, the egg then clouds the water and turns all wispy, like some sort of blond dementor.
You haven’t done anything wrong here; you’ve just failed to understand an egg’s basic structure. “There are actually two components of the egg white, or albumen,” Steele explains. “There’s the thicker part of the white which encases the yolk, and then there’s a separate, thinner layer of egg white around that. It’s the thinner part of the egg white that will spread and turn wispy when you drop an egg into the water.”
To prevent your poached egg from spreading? Strain it
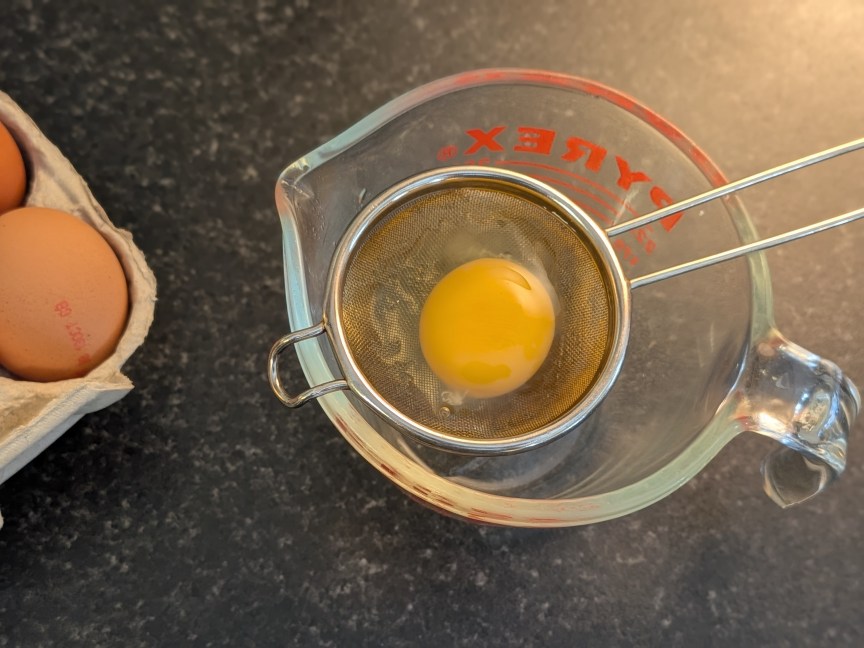
The thing is, you can easily get rid of the thin, watery white part of your egg using one simple tool you’ve probably got in a drawer somewhere and about a minute of your time. Set a small mesh strainer over a cup or bowl, crack the egg into it, and wait.
 Pamela Vachon/CNET
“Straining an egg removes the thinner whites that likely won’t adhere to the rest of the egg and result in shaggy, wispy threads,” Steele says. “It won’t affect the flavor outcome of your poached egg, but it is purely for appearance’s sake.” (And potentially your sanity’s or sense of accomplishment’s sake, I might add.)
While the egg’s flavor stays unchanged, for Benedict lovers, straining the egg first slightly improves the white-to-yolk ratio in the poached result and makes the texture more consistent, while also creating a tidy, photogenic package.
Some patience is required
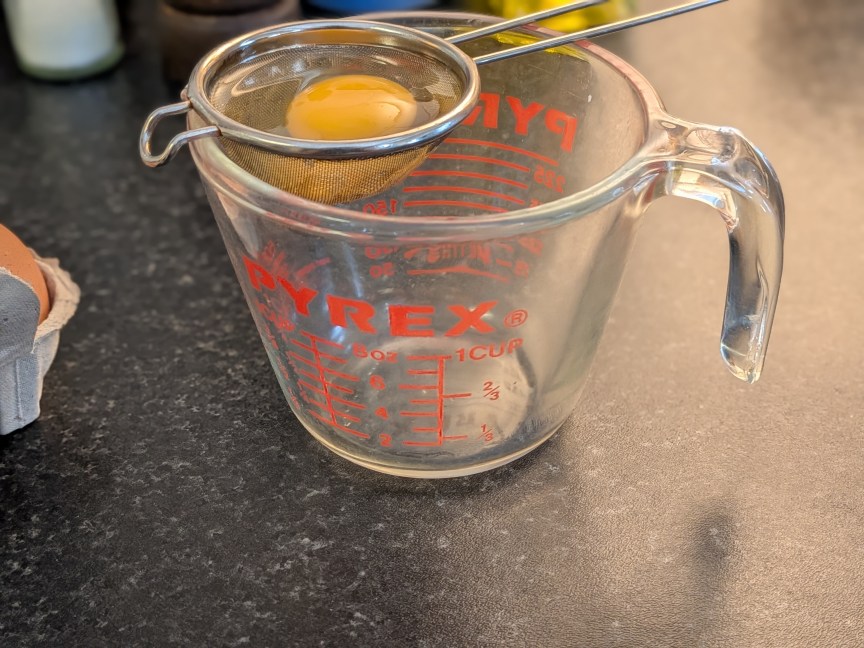
Once your raw egg is in the strainer, you may notice nothing happens right away, and you may feel the urge to move the egg around a bit to get things going. But don’t zhush, which threatens to scramble the egg. Simply wait for gravity to do its thing, which requires only about a minute. It’s akin to what happens when separating whites from yolks, except here you’re separating whites from whites.
“Let the thin part of the egg white drip down into the bowl,” Steele says, “then gently slide the egg into the simmering water.” The strainer itself can work as a handy vessel for transferring the egg, especially if you’re only making a single one. If you’re doing multiple eggs and don’t want to risk cooking any remaining white onto the mesh by submerging it, place the strained egg in a small, shallow bowl as usual before easing it into the water. Without the thin, watery white part, you’ll notice a discernible textural difference in the egg even when raw.
Best poaching practices
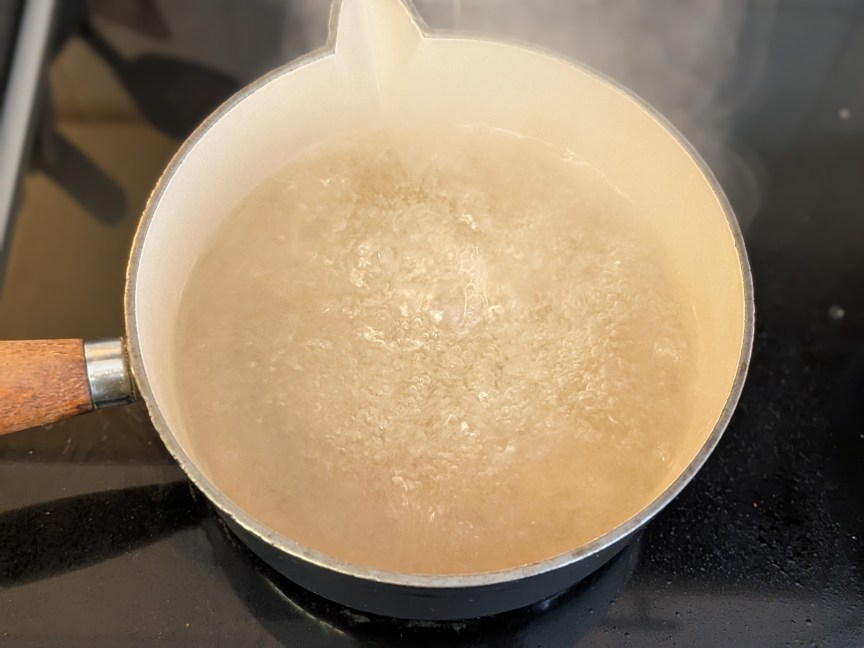
The straining step alone can almost completely change your poached egg game in an instant, but for the best results, follow the best poaching protocol. You don’t want a full pot of water at a rolling boil like you would for pasta. “Fill a pot or saucepan with a few inches of water and bring to a boil, then turn the heat down to low so the water is just barely simmering with small bubbles floating to the surface,” Steele advises.
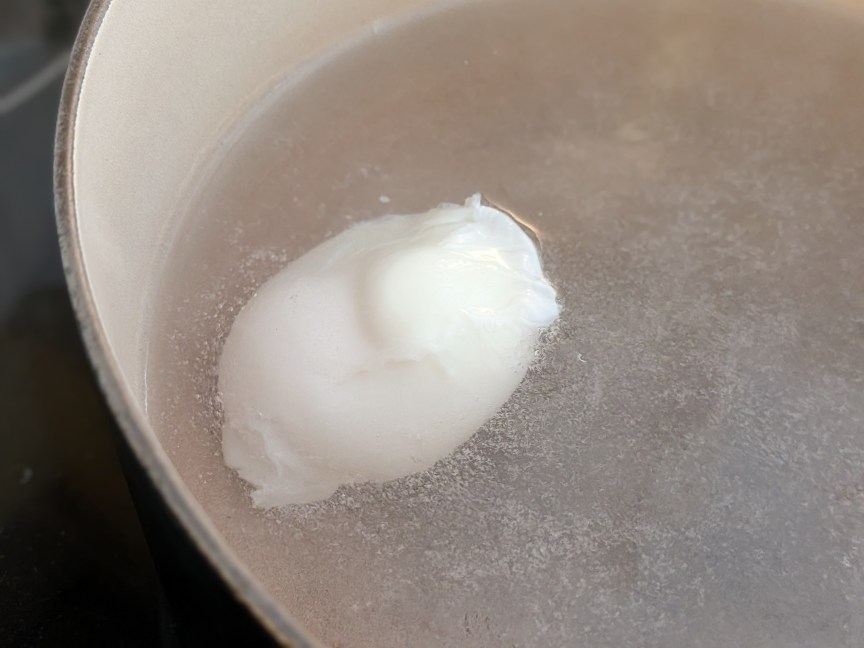
Creating a little whirlpool will further help your remaining egg white stay snug. “Using a wooden spoon or silicone spatula, swirl the water, then gently slide the egg into the center of the whirlpool as you keep swirling for another few seconds around the egg until the egg white turns milky and starts to set up around the yolk,” Steele says. “At this point, you can push the egg to one side, add another egg into the center and repeat the process.”
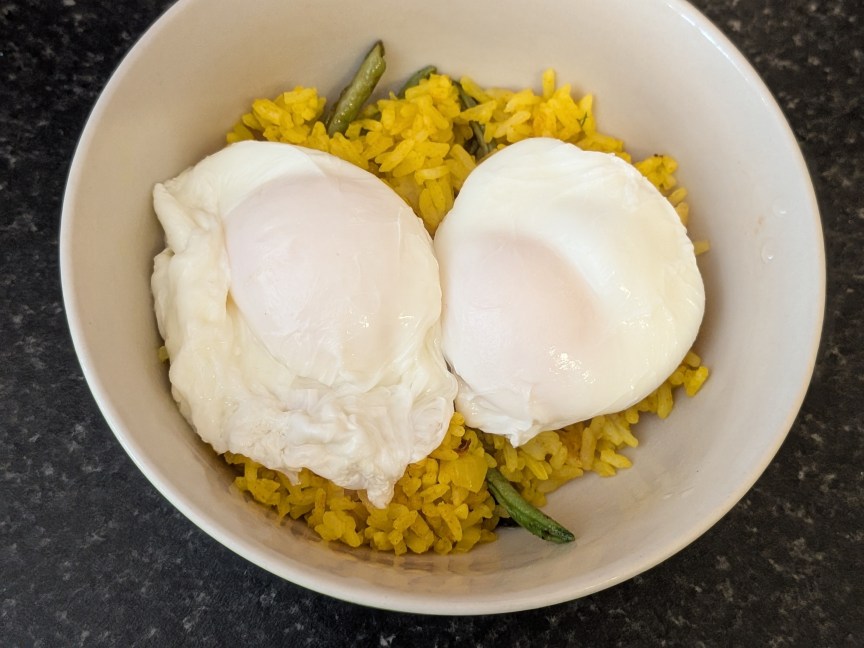
A soft-poached egg takes about three minutes, and because you’ve removed the watery part of the egg white, you’ll get a nice firm structure to hold the still-runny yolk — the poached egg ideal.
Since poaching is a delicate process, no matter your new straining habit and how strictly you follow the recommended procedure, “using the freshest eggs possible is very important when you are poaching because the egg white gets even more thin and watery as the egg ages,” Steele says. “The membrane holding the yolk together also weakens, making the yolk more susceptible to breaking.” So if you don’t have them on hand already, get yourself a strainer and some fresh eggs and put this newfound tidbit to the personal test.
Want more cooking hacks?
Cooking bacon in the oven is the best way to make a large batch, but the air fryer method might be even better — and it’s definitely faster. Here are nine more cooking hacks that save time and energy.

See full bio
Read the full article here