



Plenty of security cameras offer top-of-the-line features, but you often need cloud video (usually with a subscription) to access them. Storing video clips is more or less required with modern cameras, allowing you to download videos to report crime or have them analyzed by AI to save time.
But many people dislike relying on company servers for their video storage, along with the data privacy they may give up when companies require permission to analyze that footage. There’s an answer to this conundrum, one that saves you money and protects your privacy: It’s called local video storage, and it’s built directly into the right kinds of cameras.
If you prefer a DIY, no-fee approach for your home security, I can’t recommend local storage enough. Here’s everything you need and how to get started.
Step 1: Check to see if the security camera supports local storage
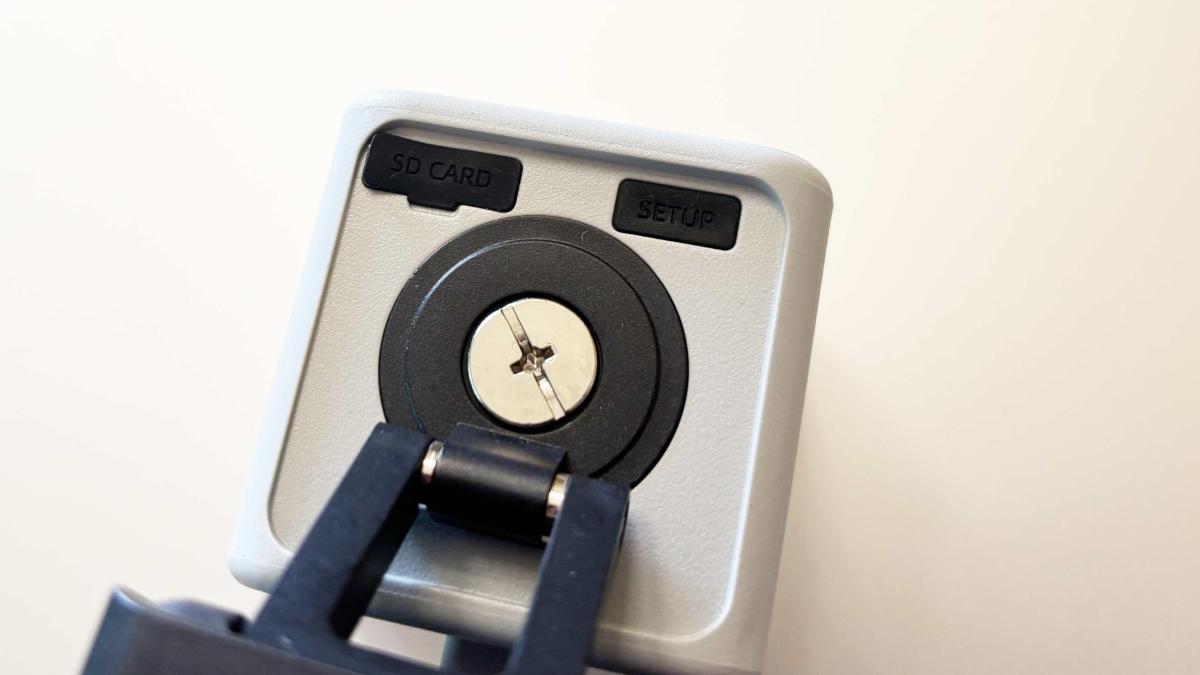
See this microSD card slot cover on the back of a Wyze cam? Look for similar slots on cameras that support local storage.
Tyler Lacoma/CNET
You’ll need a compatible security cam if you want to use local storage. And while many cameras support local storage — or offer workarounds for it — not all do. The clearest sign is a camera with a built-in microSD card slot or one that comes with a hub that includes its own slot (more on that below).
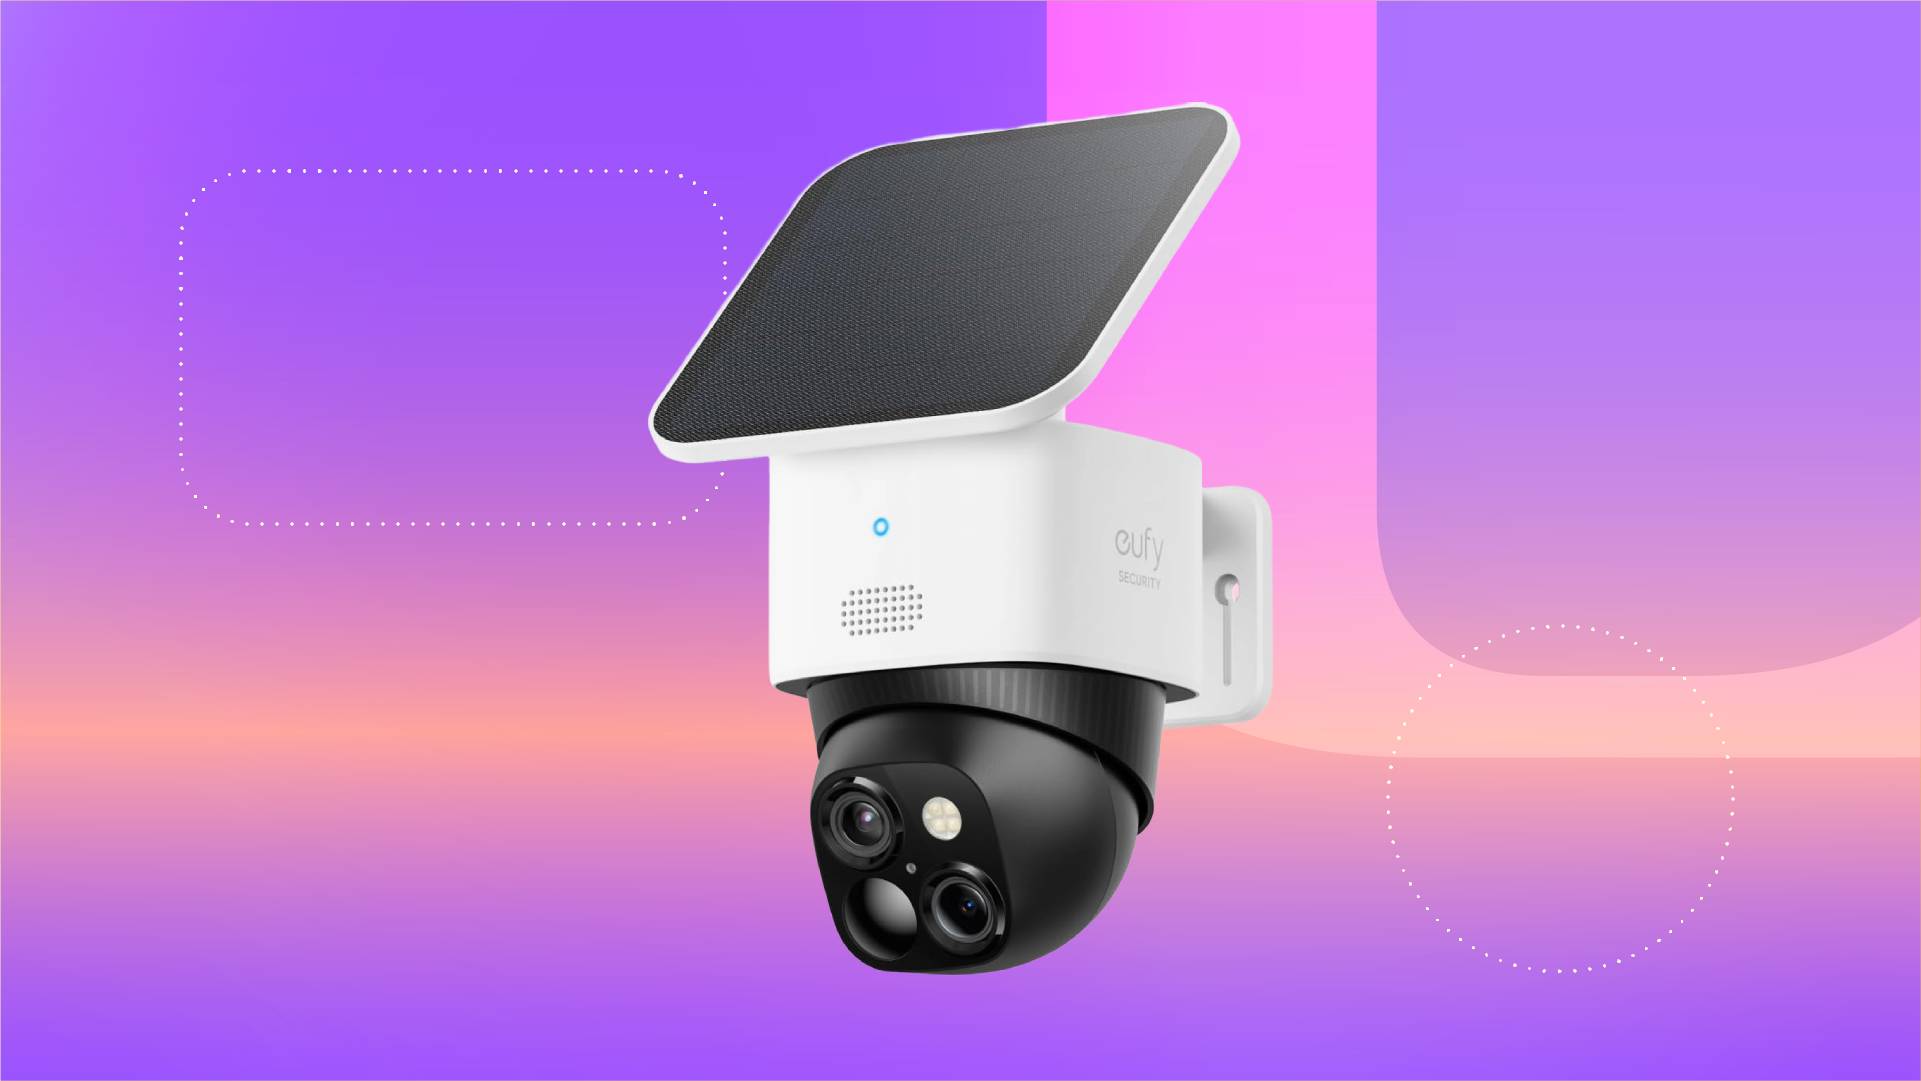
The best brands for local storage are Eufy, Tapo, Lorex and Wyze. For example, here’s a very affordable 2K Tapo cam for $24 that supports local storage. And here’s an outdoor Eufy cam for $70 that also has a card slot.
If you already have a camera, check it carefully to see if it supports a local storage card or a similar option. If it doesn’t, you might need to find an alternative model.
Step 2: Choose a microSD card
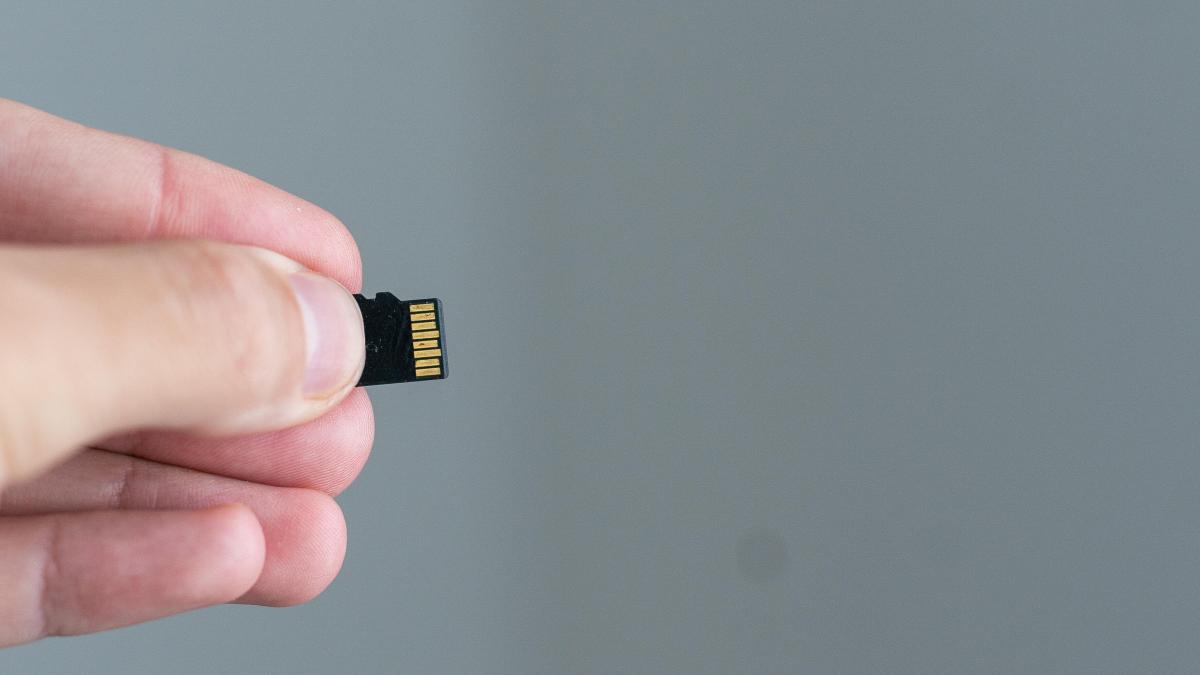
The tiny microSD card is the key to many types of local video storage.
Sinenkiy/Getty Images
You have a camera that supports an SD card, now it’s time to buy one — usually. Some Lorex cams ship with an included microSD card, but that’s a rare practice. You’ll most likely need to buy your own.
Fortunately, microSD cards are generally inexpensive and easy to find. Here’s a common 64GB Sandisk model for around $20 that’s suitable for most home security purposes. You could go up to 512GB card or higher if you’re willing to spend over $100, but be careful: Not all security cameras will work with high-capacity cards. Check product pages and instruction manuals to see if there are any limits on SD cards before you buy.
If you already own a microSD card — perhaps from a camera or for expanding a mobile device’s storage — you may be able to use it for security footage storage, though you’ll need to wipe and reformat it first. In most cases, it’s better to use a new, dedicated card for local storage.
Alternative step: Find a compatible hub with storage capabilities
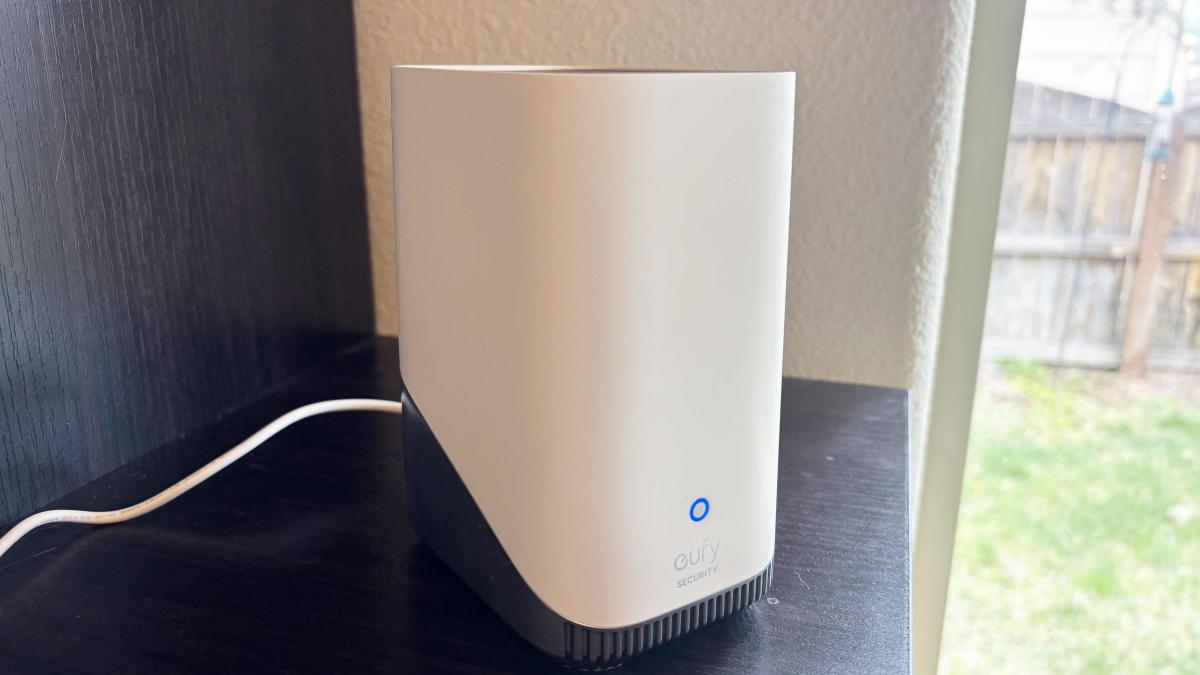
Hubs allow for more thorough local storage management, although they often need microSD cards, too.
Tyler Lacoma/CNET
There’s another option for local storage besides the popular microSD card approach. Some security brands sell hubs with built-in local storage or support for external flash drives, allowing you to manage footage locally without relying on the cloud.
The main advantage of a separate hub is that it can usually connect to multiple cameras at once, and you can upgrade to new cameras later without worrying as much about storage limits. The downside is that it adds another upfront expense, increasing the overall cost of your setup.
If you’re interested, Eufy offers the HomeBase 3 with 16GB of local storage, plus the ability to expand it further for $150. Reolink offers a similar hub for $140. Ring lets you do this with the Ring Alarm Pro security system hub, but you have to pay a subscription starting at $8 per month to enable that storage. Blink lets you connect flash storage to many of its Sync Module hubs, which range in price up to around $50.
As you can see, choosing a hub opens the door to more brands and setup options, and it can be a smart upgrade if you have multiple cameras and want a more robust security system.
Step 3: Insert and format the card for your home security footage
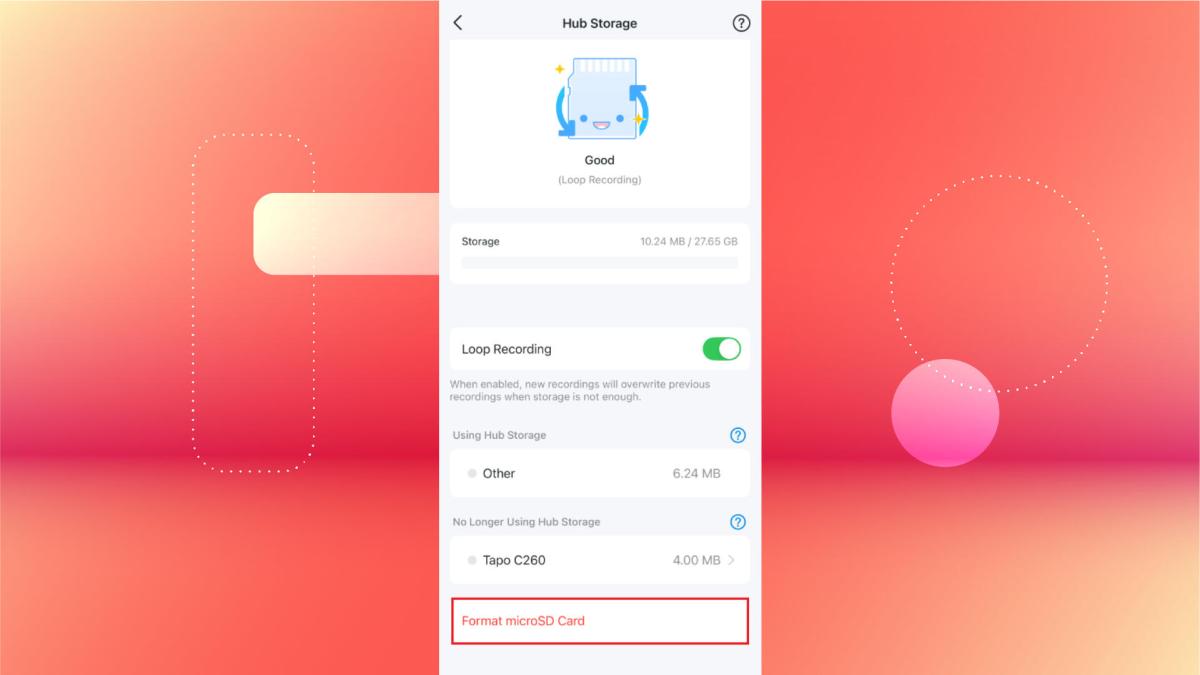
Your app should recognize the card and ask if you want to format it.
Tapo
Whether you’re using a microSD card in the camera itself or a connected hub, the next step is to set everything up and insert the card until it clicks into place.
Then open the security company’s app and head to the storage settings. Most apps will detect the card automatically and prompt you to format it for local storage. Once you agree, your storage should be ready to use within a few minutes.
Step 4: Test your storage and adjust settings to save space
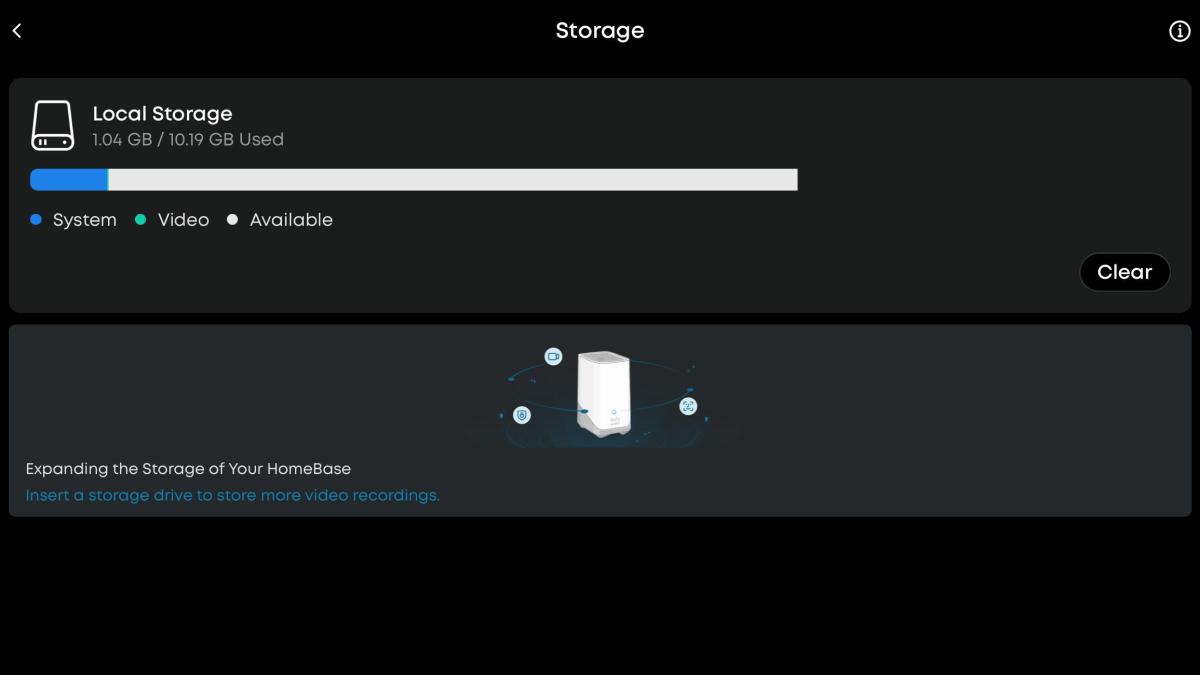
Once set up, local storage should be easy to manage, but every company will have its own settings.
Tyler Lacoma/CNET
Most apps will now treat your local card storage much like cloud storage, letting you access, review and delete footage directly from the app. They also typically include indicators showing how full the storage is.
Now is a good time to create a few recorded events and make sure you can view them properly. I usually do this by waving my hands wildly in front of the cameras like I’m performing an interpretive dance, but any motion-triggering method will work.
If your local storage is working as intended, don’t forget to check the video settings to see if you can lower the resolution of stored clips. You can often save a significant amount of space without sacrificing too much quality.
Best Home Security Cameras of 2026: Surveillance on Your Terms
Step 5: Monitor your local storage and clear it out if necessary
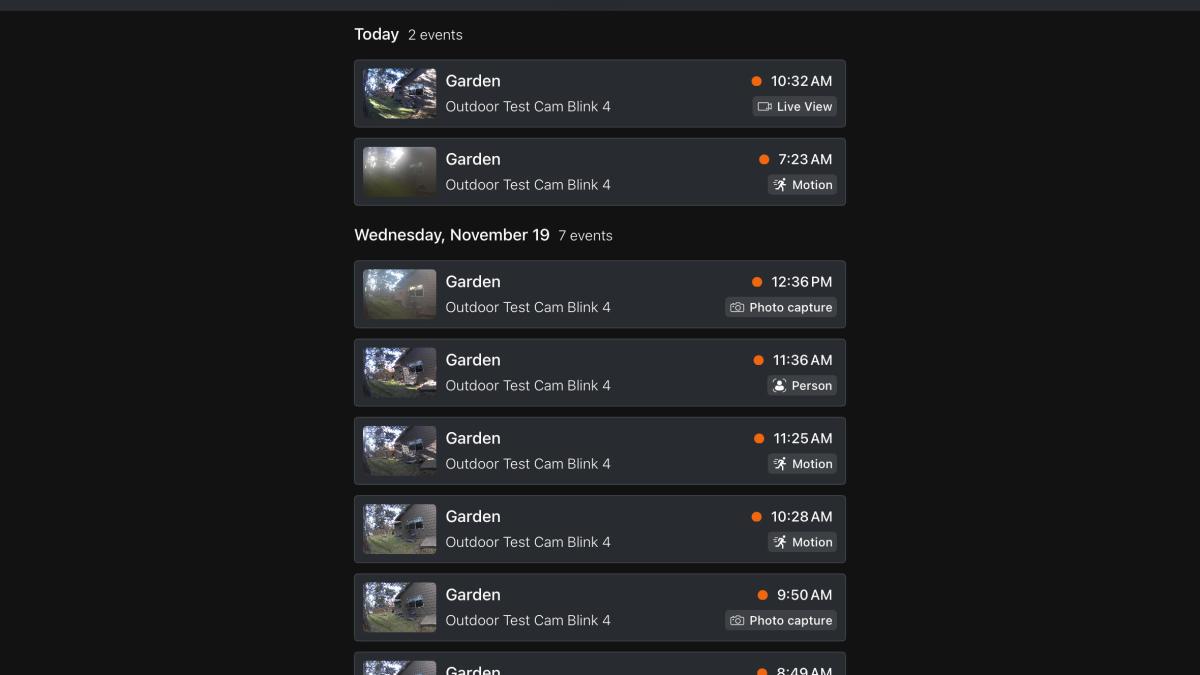
As events stack up, you’ll eventually have to clear your local storage out.
Tyler Lacoma/CNET
Eventually, local storage will fill up with video clips. Your app should alert you when storage is nearly full. That’s your cue to quickly check your event history and make sure there aren’t any important clips you want to save or transfer. Then clear the storage so it’s ready for the next cycle.
That’s it! You can now use subscription-free, cloud-free storage for as long as you own the security camera — just remember to remove the microSD card if you upgrade to a newer model.

See full bio
Read the full article here